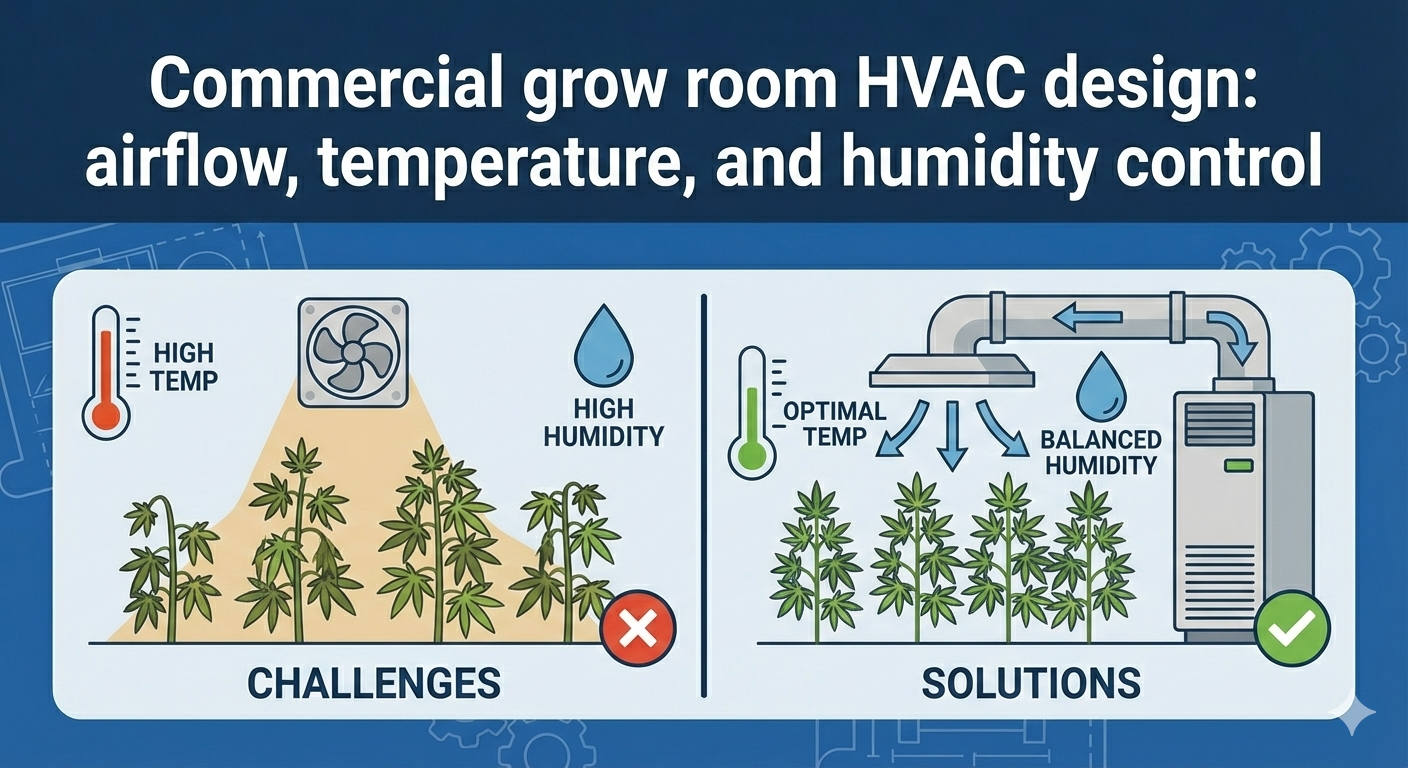
Commercial cultivation rooms ask HVAC to do something normal comfort systems weren’t built for: hold temperature and humidity in a tight band while heat and moisture loads swing all day. That’s why commercial grow room HVAC design is less about “how many tons of cooling” and more about controlling air movement, latent load, and stability so the room performs the same way on day 1 and day 300.
Understanding the Load Profile: Heat Is Only Half the Story
In a typical office, HVAC is mostly about sensible heat—people, computers, sun, and outdoor conditions. In a cultivation room, you also have a powerful latent load from moisture: plants transpire water vapor, irrigation and wet surfaces add evaporation, and outside air can bring humidity depending on season. You can remove heat with cooling, but you remove moisture with dehumidification, and that changes the energy picture dramatically.
Loads also change by schedule. When lights are on, you usually have a strong sensible load and a strong latent load. When lights are off, sensible load drops—but latent load often stays high because plants keep transpiring and moisture stored in the room continues to release. If the system is sized and controlled like a standard “comfort cooling” setup, you can end up with a room that hits temperature but fails humidity, especially during the transition periods.
A Simple Sizing Mindset that Keeps Teams Out of Trouble
A useful mental model is: lights drive heat, plants drive moisture, and the building drives variability. If you design only for the heat from lights, you risk chronic humidity drift. If you design only for moisture removal, you risk short cycling, noise, and temperature instability. And if you ignore the building envelope—insulation, vapor barriers, door cycles, and infiltration—you end up fighting a moving target.
This is why many successful rooms treat the envelope as part of HVAC design. Good wall/ceiling assemblies, sealed penetrations, and deliberate pressure strategy reduce uncontrolled air exchange. That reduces surprises, improves stability, and usually lowers operating cost because the equipment spends less time “fixing” what the building leaks.
Airflow Design: the Difference Between Average Setpoints And Real Canopy Conditions
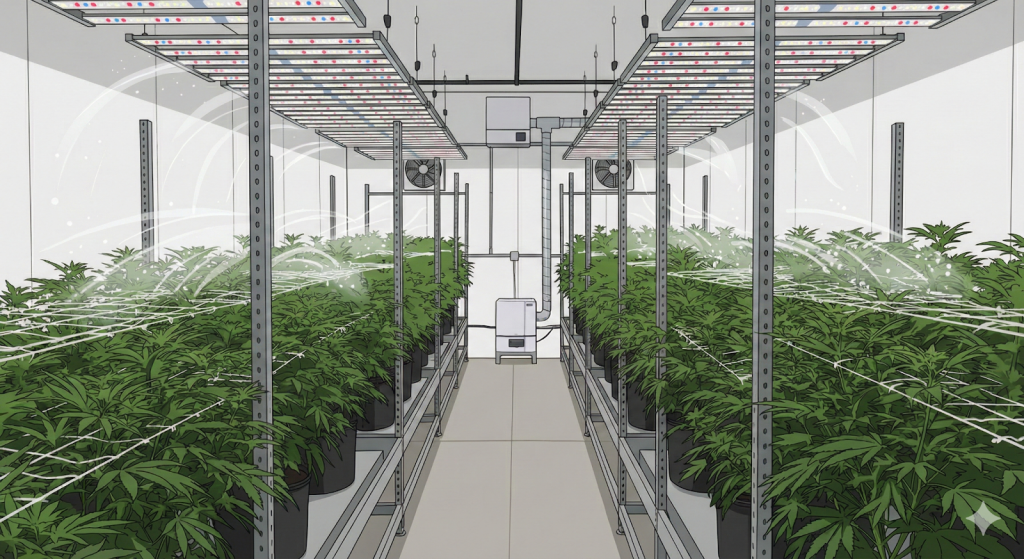
Airflow is the quiet hero in grow rooms. You can have perfect setpoints at a wall sensor while the canopy experiences stagnant pockets, temperature gradients, or humidity microclimates. Plants don’t live at the thermostat; they live in the boundary layer of air around leaves. If air is poorly mixed, transpiration and heat exchange become uneven, and you get room-to-room or rack-to-rack variability that looks like “mystery” plant behavior.
Good airflow design is not simply “more CFM.” It’s intentional distribution: supply placement, return placement, and circulation strategy that creates consistent mixing without blasting the canopy. It should also be designed around the actual physical obstacles in the room—racks, lights, dehumidifiers, and partitions. If supply air short-circuits directly into a nearby return, you’ll cool the sensor and starve the canopy. If returns are poorly placed, moisture can pool where air barely moves, raising condensation and mold risk.
Preventing Short-Circuiting and Dead Zones
Before you finalize ductwork or fan placement, it helps to think in airflow paths: where air is delivered, where it travels across the canopy, and where it is pulled back. The biggest airflow failures in grow rooms are usually predictable, not mysterious—they come from layout and routing choices that create stagnant corners or bypass the canopy entirely.
Use this airflow reality-check list during design reviews:
- Supply air reaches the canopy zone before it reaches the return path.
- Returns are positioned to pull across the room, not just “near the unit.”
- Circulation fans support mixing without creating one high-velocity tunnel of air.
- Obstructions like racks and filters don’t create isolated pockets with no movement.
- The room has a deliberate pressure strategy so doors don’t act like uncontrolled air intakes.
If your design passes those points, you’ll get more uniform leaf temperature and more consistent humidity behavior—even before you start optimizing setpoints and control logic.
Temperature Control: Stability Beats “Tight Numbers” that Swing All Day
Temperature targets vary by crop and phase, but the HVAC principle stays the same: plants respond poorly to rapid swings. A system that overshoots and corrects repeatedly can look “accurate” on a daily average while still creating stress. For commercial spaces, stability also affects operations: staff comfort, equipment performance, and predictable drying/curing or processing conditions (where applicable).
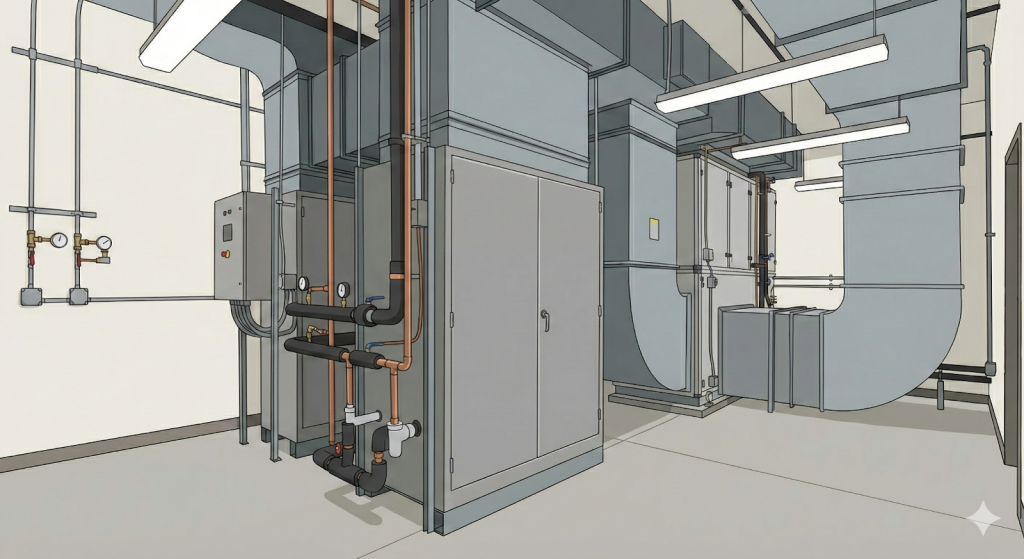
Two-stage or variable-capacity systems can help because they modulate output instead of cycling hard. But capacity control only helps if airflow and controls support it. If the system is oversized and the room isn’t mixed well, variable capacity can still create short cycling and uneven conditions. Temperature control in grow rooms is best treated as a system-level outcome: equipment capacity + airflow + sensor strategy + schedule-aware controls.
Energy-Smart Dehumidification Options that Scale
There’s no single best method for every facility. The right approach depends on climate, load swing, building constraints, and whether you need heat rejection or heat recovery. But commercial projects tend to succeed when humidity control is treated as a primary function—not a side effect of cooling.
Common approaches that engineers combine or adapt:
- Cooling-based moisture removal with controlled reheat to avoid overcooling the room.
- Dedicated dehumidification equipment designed for high-latent environments.
- Heat recovery strategies that reuse rejected heat instead of throwing it away.
- Ventilation strategies that minimize bringing in uncontrolled moisture.
The decision is less about buzzwords and more about how the room behaves across schedules and seasons. If your room needs dehumidification even when it doesn’t need much cooling, make sure your design can do that without swinging temperature or running inefficiently.
System Selection: Common Architectures and What They’re Good At
This is where many project teams want a quick answer, but the best answer is usually: pick the architecture that matches your load profile and your operational reality. Some facilities need maximum humidity control and heat rejection. Others need strong heat recovery. Some need modular redundancy so a single failure doesn’t crash the room.
Before the table, one practical point: in commercial cultivation, “best” often means “serviceable.” If a filter change requires shutting down half the room, or if coils can’t be accessed for cleaning, performance will decline no matter how good the equipment is. Service access and maintenance design are not optional extras; they are part of long-term efficiency.
Here’s a simple comparison table to guide early planning:
| HVAC architecture option | Strengths | Trade-offs | Best fit for |
| DX cooling with dedicated dehumidification | Strong humidity control potential; modular sizing | Can be complex; requires good controls to avoid swings | High-latent rooms with frequent schedule shifts |
| Chilled-water + DOAS-style ventilation control | Centralized control; scalable for multiple rooms | Higher upfront design and infrastructure | Larger facilities needing consistency across many zones |
| Heat pump-based approach with recovery options | Efficiency potential; can reuse heat | Must be designed carefully for latent-heavy demands | Facilities prioritizing energy strategy and recovery |
| Packaged/commercial rooftop style (where applicable) | Simplified footprint; faster deployment | May struggle with tight humidity control without add-ons | Projects with space constraints and moderate control needs |
Use the table to ask sharper questions in bid reviews: “How will this setup control humidity during lights off?” “Where does rejected heat go?” “How will we trend and verify performance?” Those questions are often more important than the brand name.
Installation mistakes that create instability, mold risk, and high operating cost
Grow rooms are unforgiving when installation details are wrong. Small mistakes in sealing, drainage, sensor placement, or duct routing can create chronic issues that look like “the equipment isn’t big enough.” Many times, the equipment is fine—the execution isn’t.
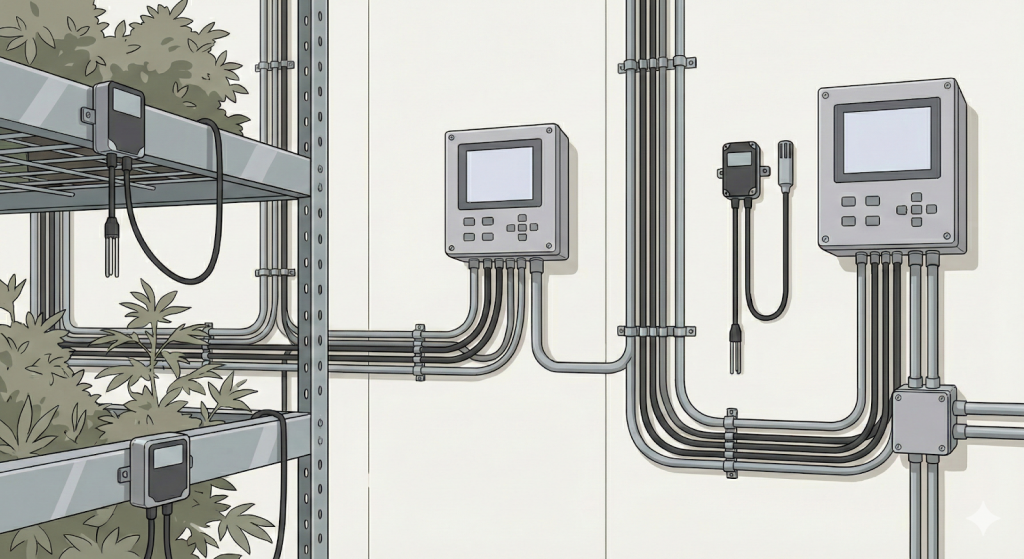
The most expensive problems tend to be the ones that force constant manual adjustments: changing setpoints daily, opening doors to “fix” humidity, or running extra fans to overcome poor distribution. Those workarounds add cost and often hide the root cause until the room is already underperforming.
Watch for these common installation mistakes:
- Returning air from the wrong location so the canopy conditions aren’t represented.
- Supply and return placement that short-circuits airflow and leaves dead zones.
- Ignoring condensate management, leading to standing water and recurring clogs.
- Poor sealing around penetrations that turns wall cavities into uncontrolled air paths.
- Sensor placement in supply blast, drafts, or stagnant corners that misleads controls.
- Underestimating maintenance access, making routine cleaning difficult and delayed.
If you want reliability, treat installation quality as part of design. A well-drawn plan executed poorly is still a poor system.
Final takeaway: stability is the real ROI in a grow room
The most successful commercial grow room HVAC design isn’t the one with the most equipment—it’s the one that holds conditions steadily with minimal intervention. When airflow is mapped to the canopy, humidity control is treated as a primary load (not a side effect), and controls are commissioned to match real schedules, the room becomes predictable. That predictability is what protects crop quality, reduces labor, and keeps energy use from creeping up over time. If you build for service access and verify performance with real trending, you don’t just “hit setpoints”; you keep hitting them season after season.